Homemade granola can be surprisingly easy to get wrong. Too much stirring can leave you with lots of little pieces instead of clusters, while underbaking can leave it soft — and before you know it you’ve spent more time watching the oven than you wanted to.
This peanut butter granola recipe keeps things simple. Everything gets coated in a warm peanut butter, coconut oil and maple syrup mixture, baked until golden and then left alone to crisp up. It’s crunchy, full of seeds and coconut, and easy to adapt to whatever you already have in the pantry.
LOW EFFORT
GLUTEN FREE
ADAPTABLE
FAMILY FRIENDLY
BREAKFAST READY
Why This Peanut Butter Granola Works
This peanut butter granola is a simple, crunchy pantry recipe that gives you a homemade breakfast without making breakfast complicated.
This post may contain affiliate links, which means I may earn a small commission if you purchase through them — at no extra cost to you. These links help support Flexible Family Kitchen and allow me to continue creating free, adaptable recipes. I only share products I personally use or genuinely recommend.
Ingredients
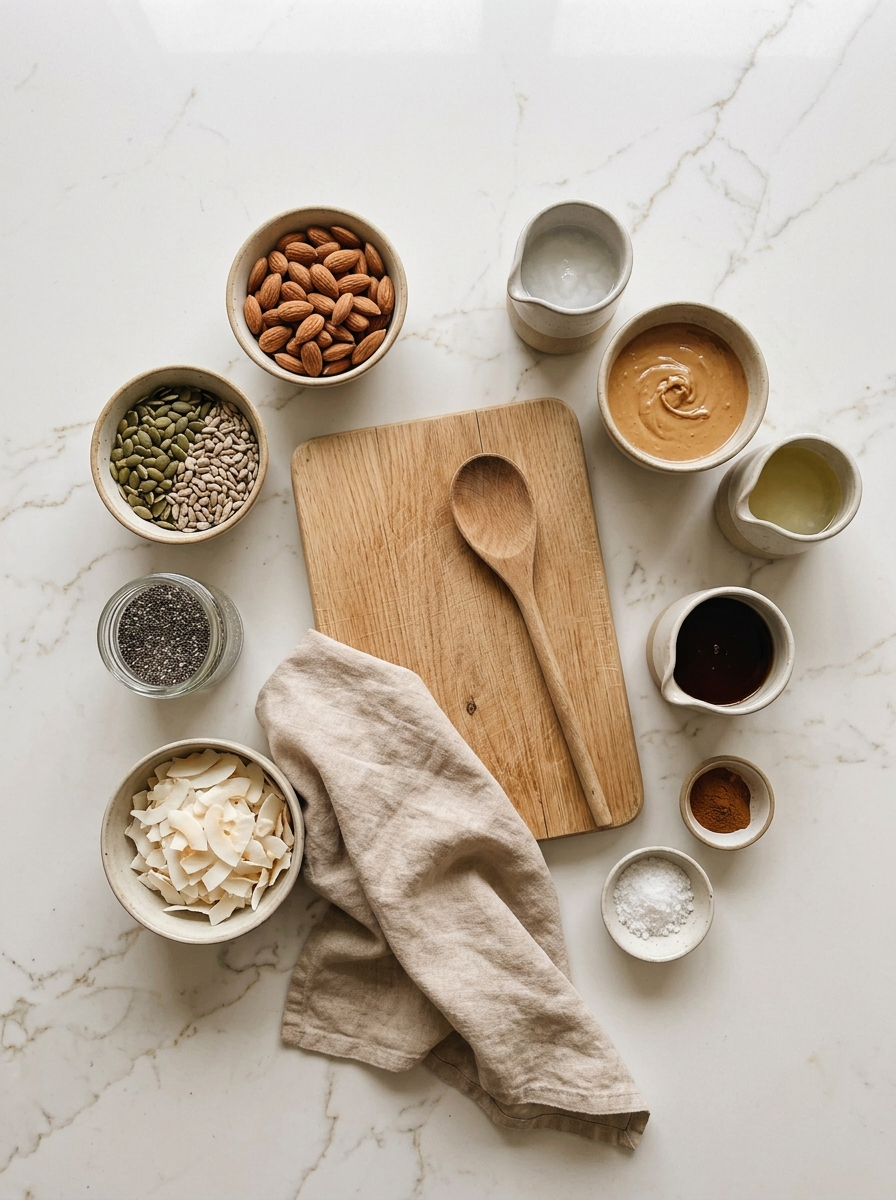
Here’s everything you need to make this Peanut Butter Granola at home.
- 160g raw almonds – These provide the bigger crunchy pieces throughout the granola. Roughly chop them so you get a mixture of small pieces and larger chunks. Nut-free swap: Replace with 160g mixed seeds.
- 70g sunflower seeds– Add crunch and a mild flavour without overpowering the peanut butter.
- 70g pumpkin seeds (pepitas) – Give the granola a slightly richer texture and more substantial bite.
- 40g chia seeds – Add texture and fibre without needing any preparation.
- 35g sesame seeds – These toast beautifully and add a subtle nutty flavour.
- 40g coconut flakes – Add sweetness, texture and those lovely toasted coconut pieces.
- 130g peanut butter – This is the star of the recipe. It coats the nuts and seeds and gives the granola its peanut butter flavour and clusters. Smooth or crunchy peanut butter both work. Nut-free swap: Replace with 110g tahini or another seed butter and add an extra 1 tsp cinnamon to balance the slightly more bitter flavour of seed butter.
- 50g coconut oil – Helps loosen the peanut butter mixture and gives the finished granola a crisp texture.
- 45g maple syrup – Adds sweetness and helps create the coating that brings everything together.
- 1 teaspoon ground cinnamon – Adds warmth and balances the peanut butter.
- ¼ tsp salt – A small amount of salt makes the peanut butter and maple flavours stand out.
Step-by-Step Instructions
Conventional Method
- Heat the oven to 180°C and line two baking trays.
- Roughly chop the almonds, keeping a mixture of small pieces and larger chunks.
- Warm the peanut butter, coconut oil, maple syrup, cinnamon and salt until smooth and combined.
- Add the nuts, seeds and coconut and mix until everything is well coated.
- Spread across two trays and bake for 8 minutes.
- Give the granola a gentle stir and return to the oven for another 8 minutes.
- Leave it completely undisturbed to cool and crisp before breaking it into pieces.
The full step-by-step method with exact quantities, timings and instructions is included in the recipe card below.
Flexible Family Cooking Notes
This recipe is designed for real family life — not perfect Pinterest cooking.
The most important part of this recipe is letting the granola cool completely.
It will still feel a little soft when it comes out of the oven. Don’t panic and don’t immediately cook it for longer. The clusters firm up as they cool.
If it’s completely cool and still soft, give it a few more minutes in a low oven.
Tips for Stress-Free Cooking
Pantry Notes
This is a great recipe for using up the odds and ends in your pantry.
You can change the combination of nuts and seeds depending on what you have. Keep the overall quantity roughly the same so you don’t upset the balance of the recipe.
Pumpkin seeds can be swapped for extra sunflower seeds, and vice versa. You can also use a mixture of seeds rather than buying several different packets specifically for this recipe.
Maple syrup can be swapped for a sweetener of your choice. I’ve tested this recipe with both liquid and granulated sweeteners, so you have some flexibility depending on what you keep in the pantry.
I wouldn’t make big changes to the peanut butter, coconut oil and maple syrup quantities. They’re the part of the recipe that creates the coating and helps the granola crisp.
Tools I Use For This Peanut Butter Granola Recipe
- Sharp knife – a quality sharp knife makes cutting larger nuts easier and safer.
- Chopping board – to use when chopping nuts.
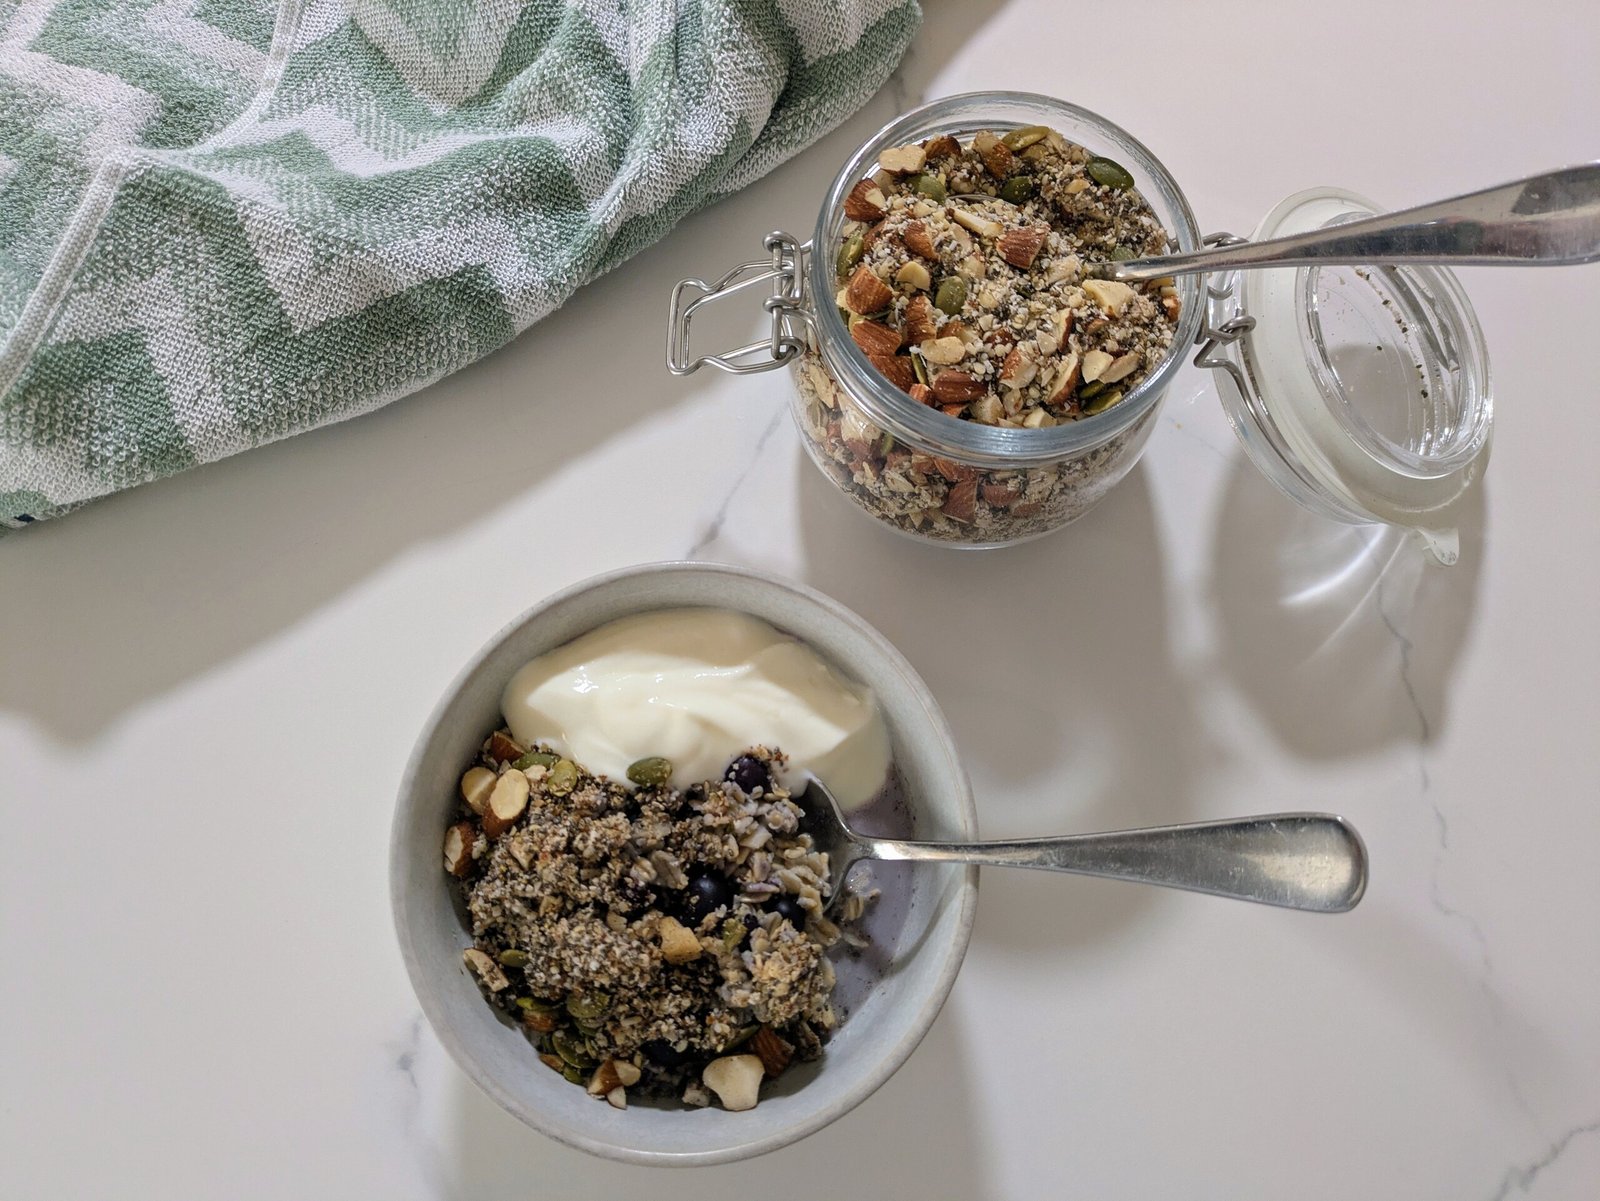
- Clip lid glass jar – for airtight storage of the homemade granola.
- Baking trays – for spreading out the mixture for even baking
How to Store This Peanut Butter Granola Recipe
Allow the granola to cool completely before storing.
Transfer to an airtight container and keep at room temperature for approximately 2 weeks.
Moisture is the enemy of crunchy granola, so make sure the container is well sealed.
If the granola softens, spread it over a baking tray and return it to a low oven for a few minutes. Allow it to cool completely again before storing.
How to Adapt This Peanut Butter Granola Recipe
These simple swaps make this recipe easier to adapt for allergies, food intolerances, sensory preferences and different dietary needs.
DAIRY FREE
No changes needed
GLUTEN FREE
No changes needed
EGG FREE
No changes needed
LOWER CARB
Replace maple syrup with your preferred sweetener
NIGHTSHADE FREE
No changes needed
NUT FREE
Replace the 160g almonds with 160g mixed seeds. Replace the 130g peanut butter with 110g tahini or sunflower seed butter and add an extra 1 tsp cinnamon.
CORN FREE
No changes needed
SOY FREE
No changes needed
Flexible cooking doesn’t need to mean cooking separate meals for everyone.
👉 For easy adaptable cooking, learn how to confidently swap everyday ingredients like flour, stock, pasta, soy sauce, and baking staples.
⚠️ The more swaps you make, the more the final result may vary — start simple where possible.

Peanut Butter Granola
Ingredients
Method
- Preheat the oven to 180°C and line two large baking trays with baking paper.
- Roughly chop the almonds, leaving a mixture of smaller pieces and larger chunks.
- Place the peanut butter, coconut oil, maple syrup, cinnamon and salt in a small saucepan. Warm over low heat, stirring until the mixture is smooth, runny and well combined.
- Combine the chopped almonds, sunflower seeds, pumpkin seeds, chia seeds, sesame seeds and coconut flakes in a large bowl.
- Pour the warm peanut butter mixture over the dry ingredients and stir well until everything is evenly coated.
- Divide the mixture between the two prepared trays and spread into an even layer.
- Bake for 8 minutes, then stir.
- Bake for another 8 minutes. If the mixture still looks particularly wet, cook for another 1–2 minutes.
- Remove from the oven and leave to cool completely on the trays. The granola will crisp as it cools, so don’t judge the final texture while it is still warm.
- Preheat the oven to 180°C and line two large baking trays with baking paper.
- Add the almonds to the Thermomix bowl and chop for 3 seconds / speed 7. Remove and set aside.
- Add the peanut butter, coconut oil, maple syrup, cinnamon and salt to the bowl. Heat for 3 minutes / 80°C / speed 2.
- Add the chopped almonds, sunflower seeds, pumpkin seeds, chia seeds, sesame seeds and coconut flakes. Mix for 30 seconds / reverse / speed 3, or until evenly combined.
- Divide the mixture between the two prepared trays and spread evenly.
- Bake for 8 minutes, stir, then bake for another 8 minutes.
- If the mixture still looks very wet, bake for another 1–2 minutes.
- Remove from the oven and leave to cool completely before storing.
Notes
Serving Suggestions
Here are some delicious ways to enjoy your Peanut Butter Granola:
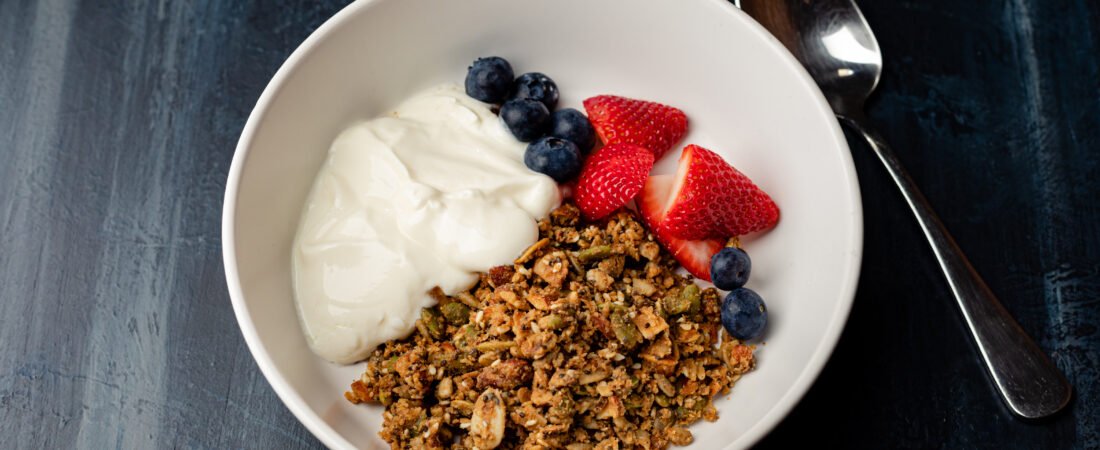
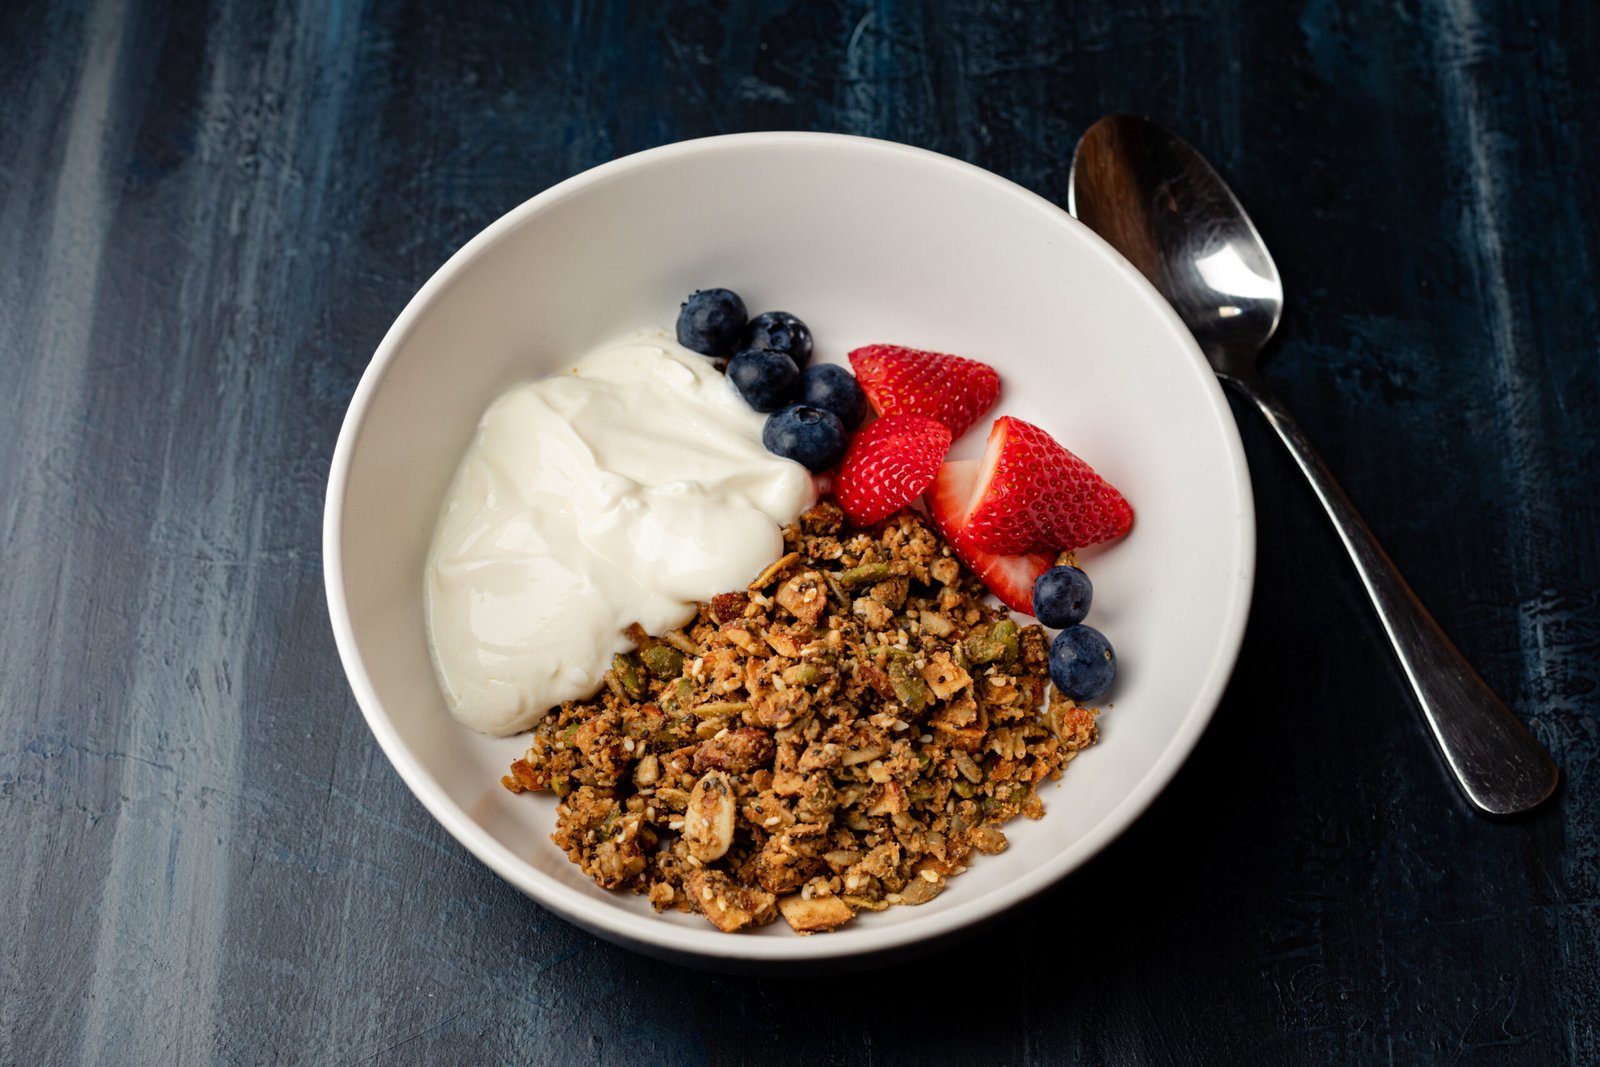
- Yoghurt + berries: Spoon over Greek yoghurt or your favourite dairy-free alternative with fresh berries.
- Breakfast bowl: Add milk and sliced banana for a quick breakfast.
- Parfait: Layer granola, yoghurt and fruit in a glass or jar.
- Snack: Keep a small portion ready for an afternoon snack.
- Smoothie bowl: Sprinkle over a smoothie bowl for extra crunch.
More Flexible Family Recipes
Tried This Recipe?
Did your family love it too?
Leave a comment and share what swaps you used — it helps other families more than you think!
Frequently Asked Questions
Real Food For Real Families
These recipes are designed to help you cook one flexible meal that works for everyone — without making multiple dinners.
I focus on simple ingredients, practical swaps and real-life cooking. You won’t find perfectly styled food or complicated techniques here — just balanced, adaptable meals for busy families.
Because food should nourish you — not control you.


Leave a Reply